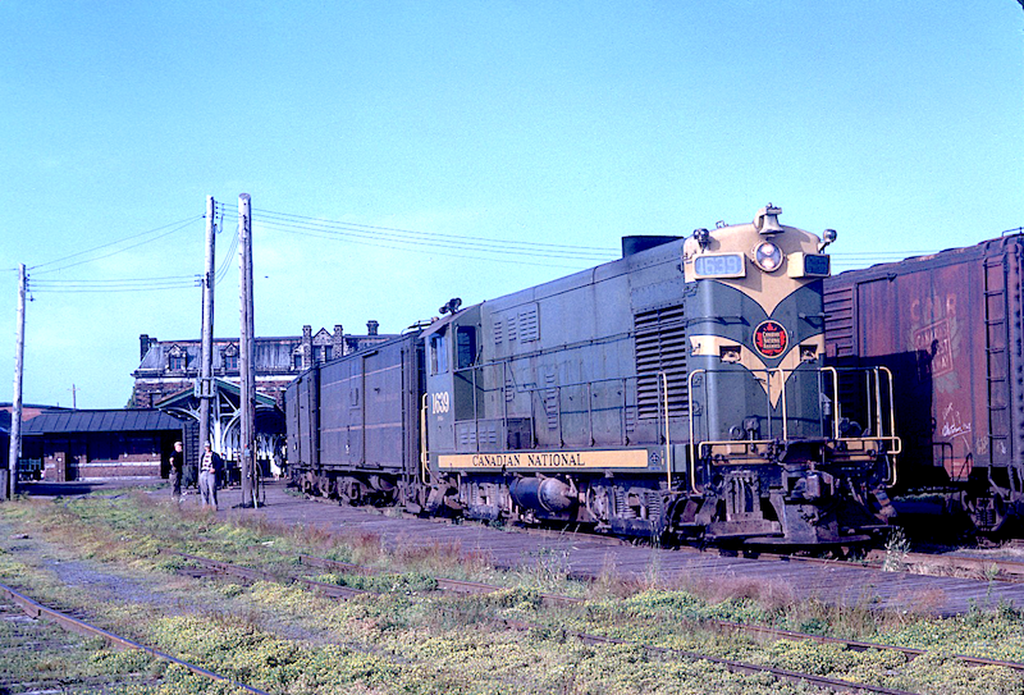
Photo by: J.W. Vingrass / Krambles-Peterson archive (www.thedieselshop.us)
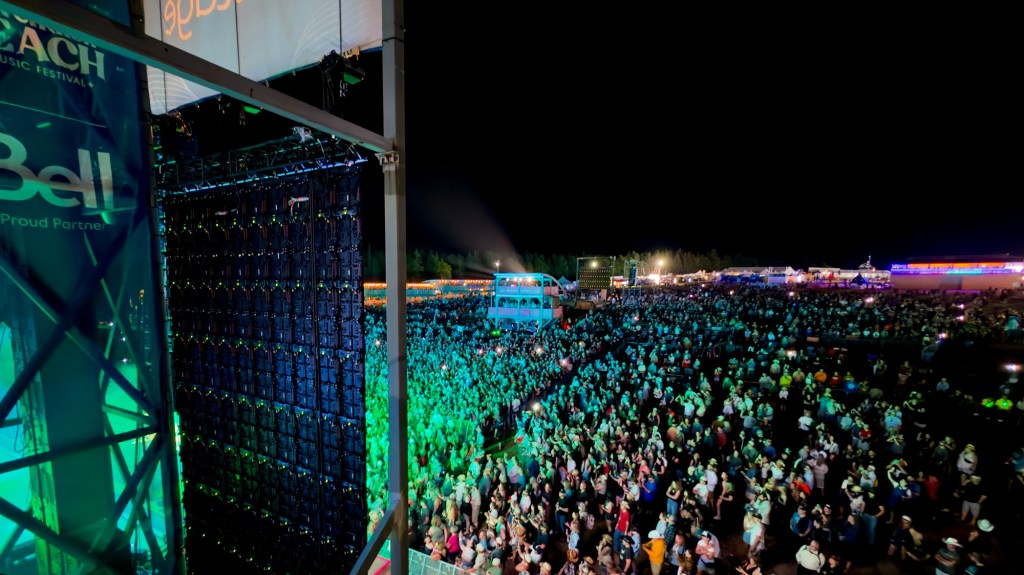
You know, before we get into it, it’s kind of funny. I just got home from being back-stage at a concert with approximately 15,000 people in attendance, and most of the time I was there I was thinking about writing this post and how to execute the next phase of this build. While my old life does creep back into the picture from time to time, we’re about ten years deep into the train-bug. I think it grabs harder somehow.
Here’s a picture of that, for fun:
Ok, train stuff.
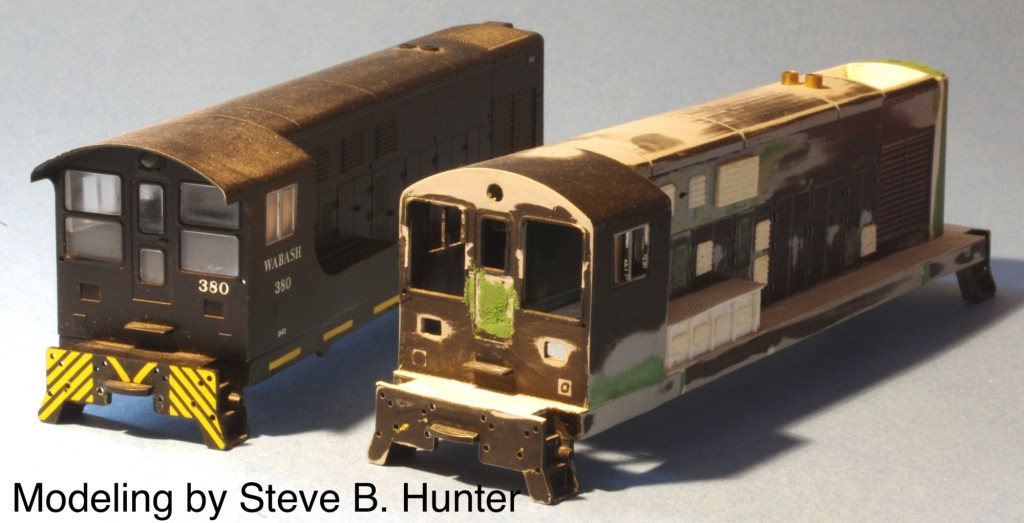
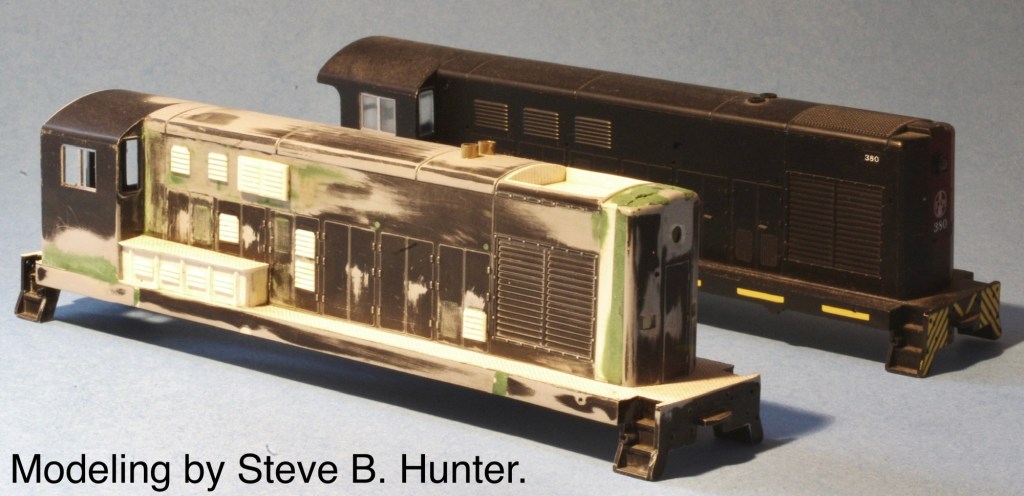
Back in 2022, I became drawn to a H10-44 to H12-44 conversion project I found in Steve Hunter’s files. Like how most good projects start, I saw something shiny and couldn’t stay away from it. Steve had gone to great lengths to begin converting a Walthers H10-44 into a proper Canadian Locomotive Company H12-44, and I was captivated not only by the thought and planning he had put into getting the project off the ground, but by how monolithic, heavy-looking, and frankly cool the #1630–1639 series CLC locomotives were. Steve had well-documented his progress in photos, as well as in various places around the internet. Unfortunately, the only remaining online source I can still find appears to be on The Diesel Detailer forum, which I have linked to before and will link here again.

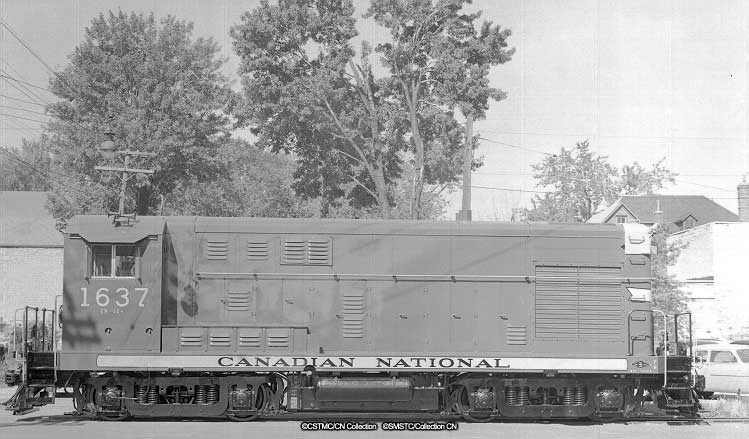
(Ingenium Archives, CN Images of Canada Collection, X-46343 : http://collection.ingenium.ca/en/id/X-46343/)
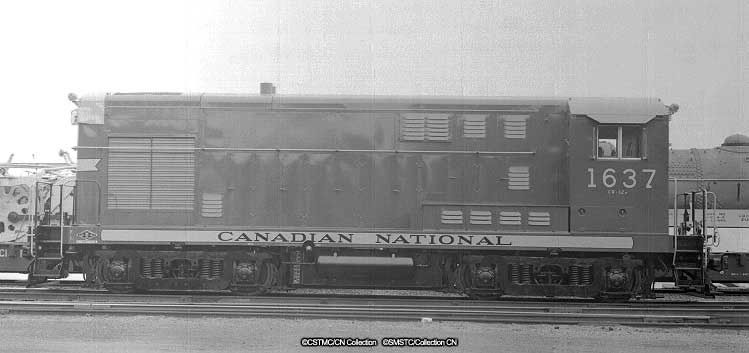
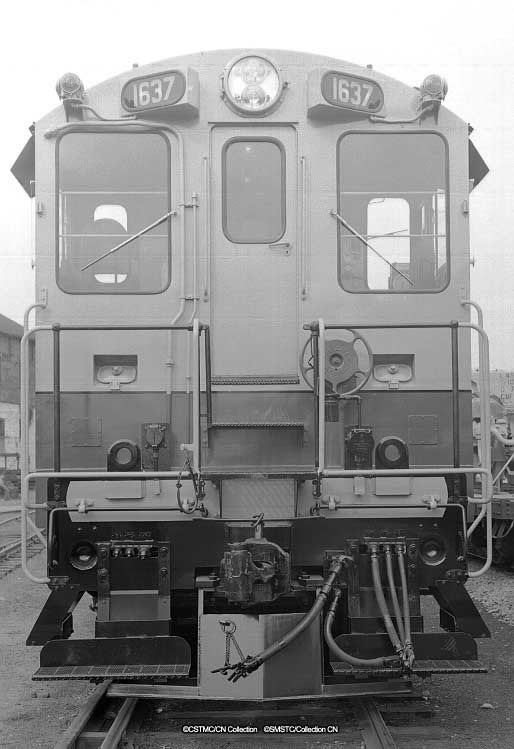
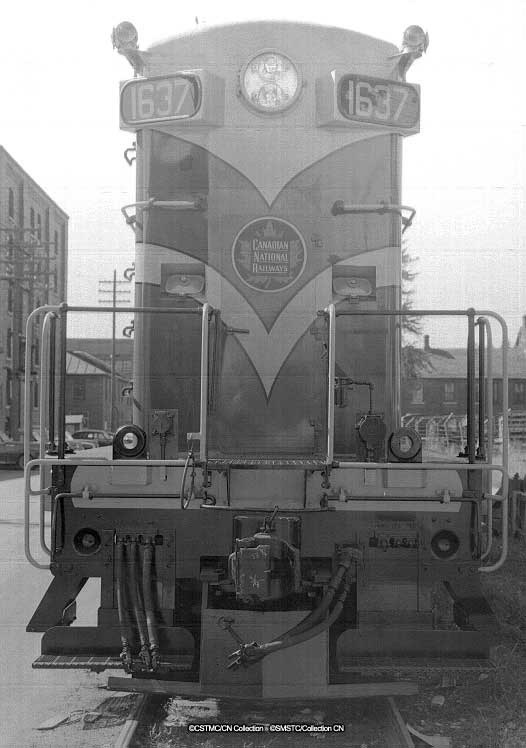
Built by the Canadian Locomotive Company of Kingston, Ontario, under licence from Fairbanks-Morse, CN’s H12-44s were delivered in two groups: #1630–1639 between AUG and OCT1955, followed by #1640–1659 between APR and JUN1956. As built the #1630–#1639 series, the subject of this project, had a steam-era-style body-mounted handrail arrangement (similar to a boiler rail), and side handrails were later added by CN. The later #1640–#1659 series came from the factory without the body handrail, proper side handrails, a wider hood, and longer battery boxes, among other differences. The subject of this build, #1639, came from the first group and is the most often seen CLC PEI unit in my photo stash, hence it’s been chosen as the prototype.
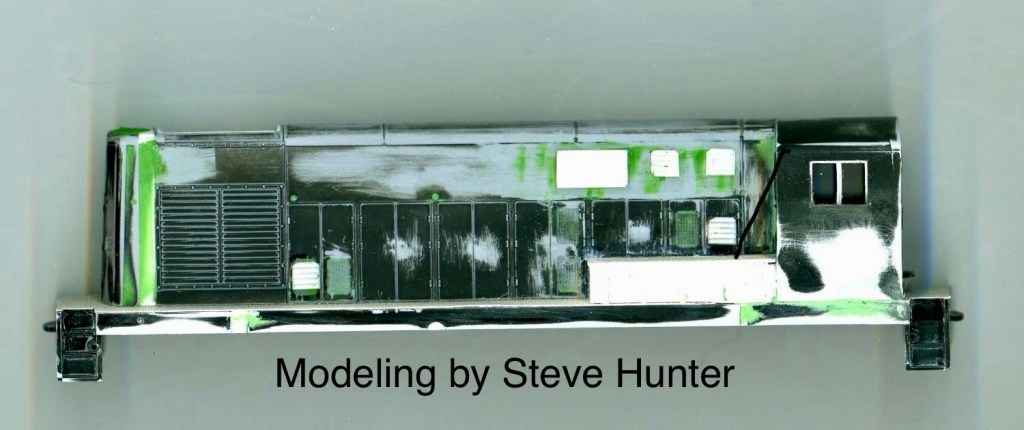
Soon after getting hooked onto the idea, I found a cheap Walthers H10-44 of my own at a train show and began to tinker. The tinkering quickly snowballed into a full reverse-engineering exercise, as I worked to figure out the process Steve had used to modify the shell, extend the body to the correct length, extend the hood end, and correct the profile of the front of the hood. Much of the reverse engineering was achieved by converting Steve’s progress photos to scale, the main culprit being a scanned side-profile image of the actual in-progress model post surgery. Scaled down, it lined up nicely and could be compared against the drawings in CN Engineering’s Diesel Data Book.
While it has been over four years since I last worked on this project (!!!), I really do believe it deserves to be finished before starting anything else, IE: the RSC-13s. And I want to be clear: I am absolutely copying Steve’s build while adding my own flavour to it, and it is absolutely out of homage to one of the greats of PEIR scale modelling. Steve absolutely loved sharing his modelling and knowledge of the PEIR with anybody who was interested. I have no doubt he’d be happy that his work is being shown, and expanded upon. Another aside, I actually have no real need for this model LOL, as CN’s H12-44s were primarily used on the “Boat Train” between Charlottetown and Borden, PEI, which is not a stretch of railway I have intentions of modelling, either past or present. Still, sometimes a prototype grabs you anyway. It’s just cool.
To the nitty gritty:
It has been long enough that I don’t remember the exact order in which I worked, but this is the mostly complete list, as of now, of what was completed before shelving the build.
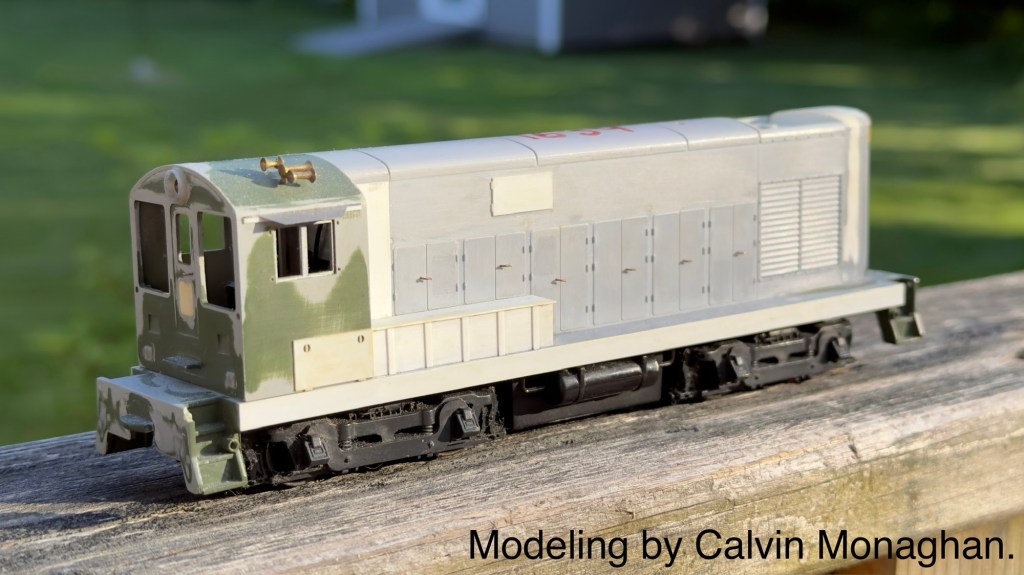
- The original Walthers shell had a lot of details that were not present on the CLC units, including Fairbanks-Morse-style fairing on the cab end and skirting above and over the battery boxes. These were among the first details I removed.
- All louvers on the hoods doors were filled with Mr. Surfacer 500 grit primer and removed.
- All of the molded door handles were chiselled off and replaced with handles made from phosphor bronze wire.
- All molded window gaskets were removed. These may be left as-is, or replaced using the Andrew Castle method: gluing .005” styrene sheet over the window openings, then cutting and filing it back until only new, more scale-accurate gaskets remain around the edge of the window.
- The Walthers model featured four windows on the rear of the cab, along with an extra window in the cab door. The four rear windows were converted into two larger windows to match the CLC prototype, and the extra window in the door was filled with styrene and removed.
- New access doors were added to the sides of the cab, with .010” styrene rod set into drilled holes to represent the prototype’s round latches.
- KV Models Sunshades were installed.
- Holes were drilled for wind deflectors, also by KV Models.
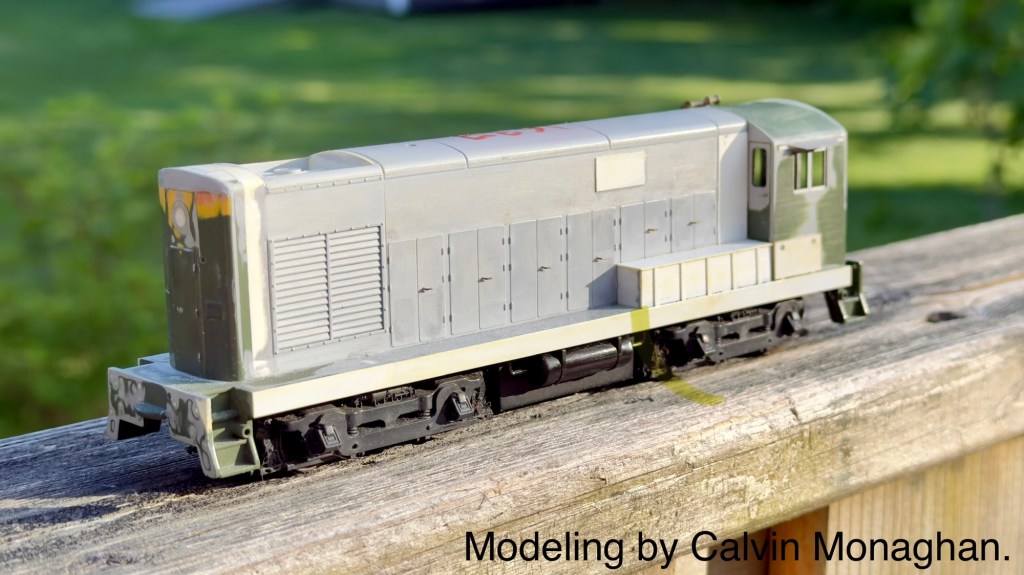
- The body was extended by cutting the shell in two separate places and adding styrene: once at the radiator section, and again just ahead of the cab.
- Since the longer body also required a longer hood, the nose of the locomotive was cut off and extended with styrene. The rear of the nose was sanded flat to remove the original angle, then reattached vertically to the extended hood.
- Certain areas of the body closest to the cab were filled in with .005” sheet styrene to match the CLC prototype.
- A thin strip of styrene was added over the side sills to cover any remaining evidence of the body surgery, while also matching the prototype. This will also allow the “CANADIAN NATIONAL” decal to sit properly along it.
- The molded plastic roof grille, which was frankly terrible, was cut out, and a styrene box was built inside the shell. That box now houses a proper fan and will eventually be covered with a scale grille.
- The molded exhaust stacks were chiselled off, the area was sanded clean, and holes were drilled to eventually accept hollow brass tubing for more accurate exhaust stacks.
- Accurate battery boxes were scratchbuilt over the remains of the original FM ones to better match the CLC prototype.
- Access hatches were added to each upper side of the body, which will eventually receive louvers to match the CLC prototype.
And of course, here are various photo’s of the build, with the top one being the most recent. The rest were taken years ago!
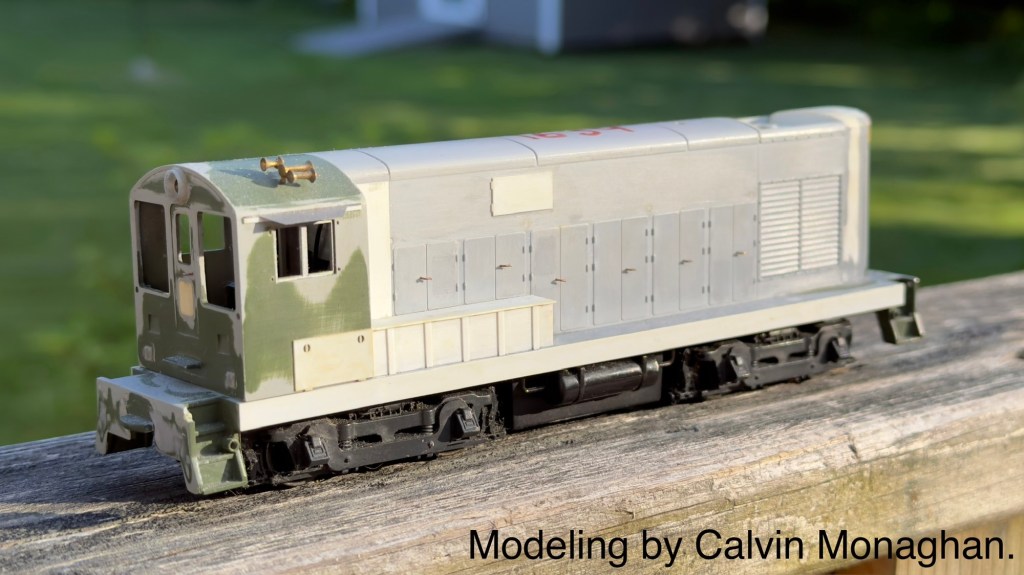
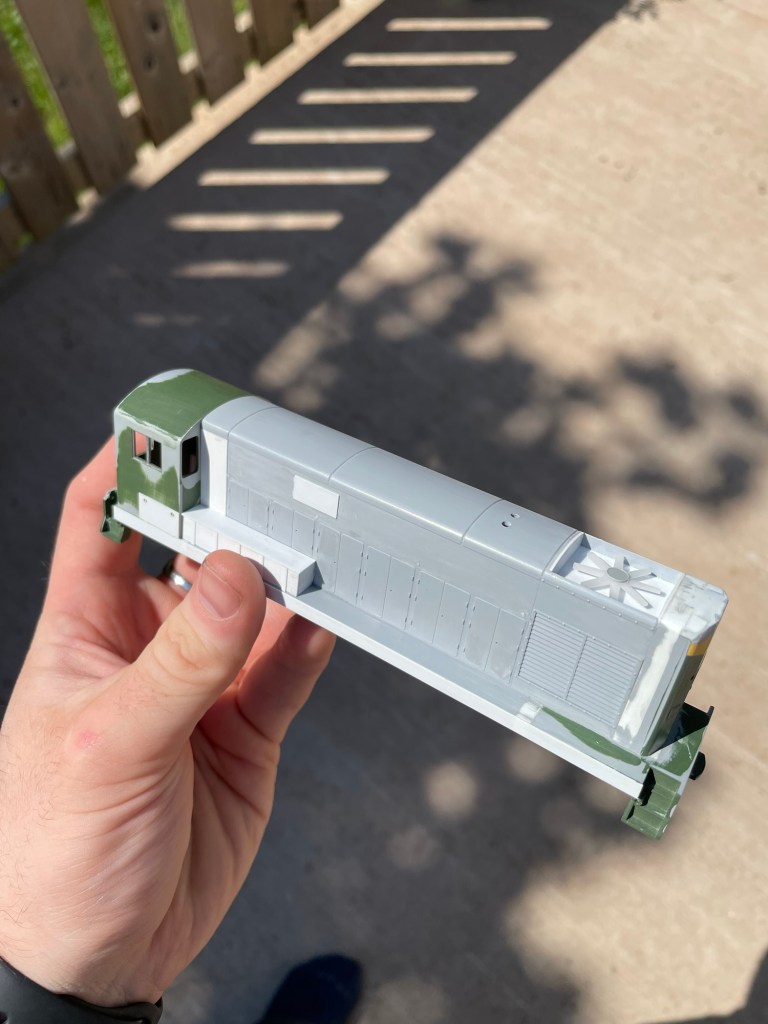
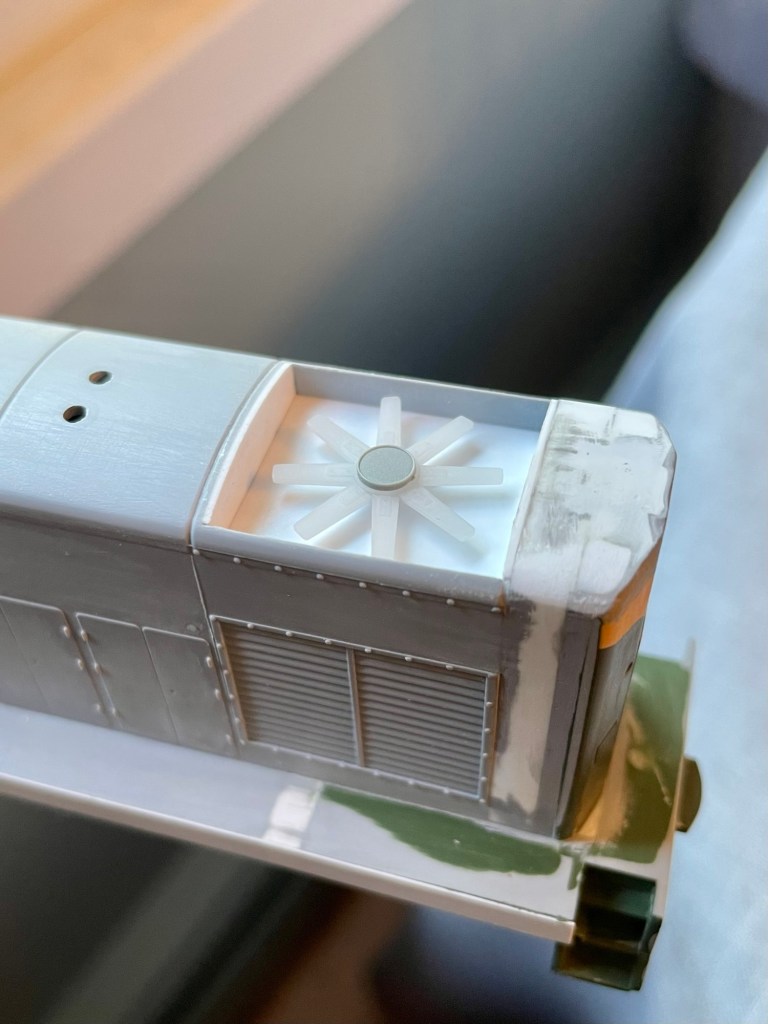

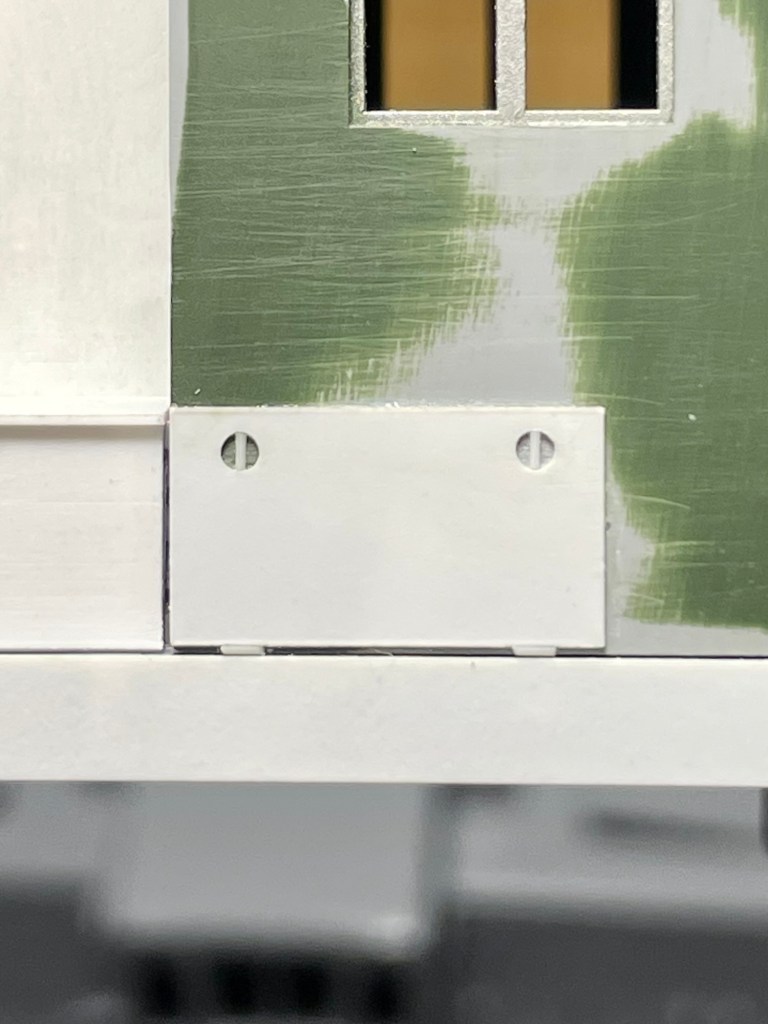

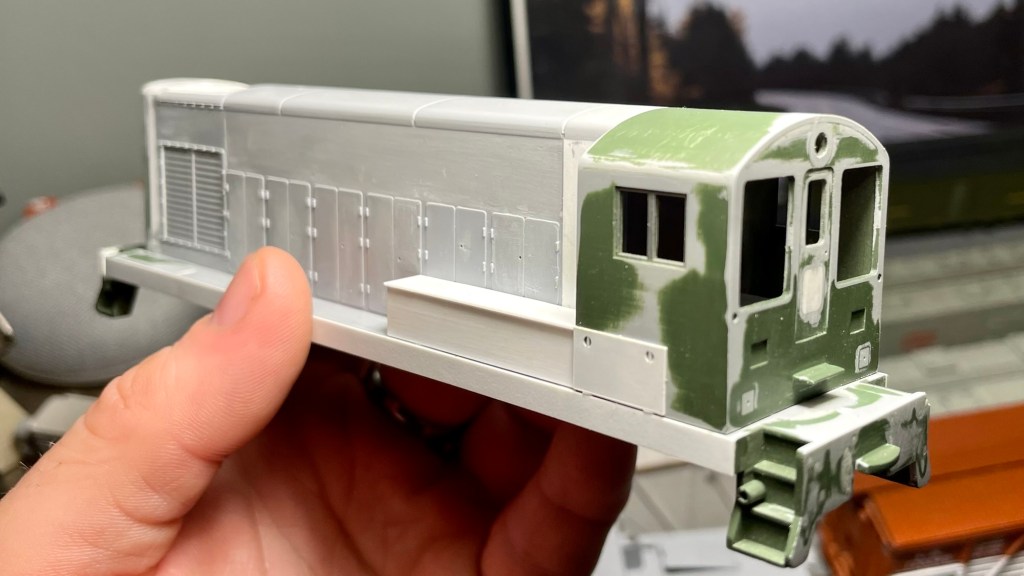
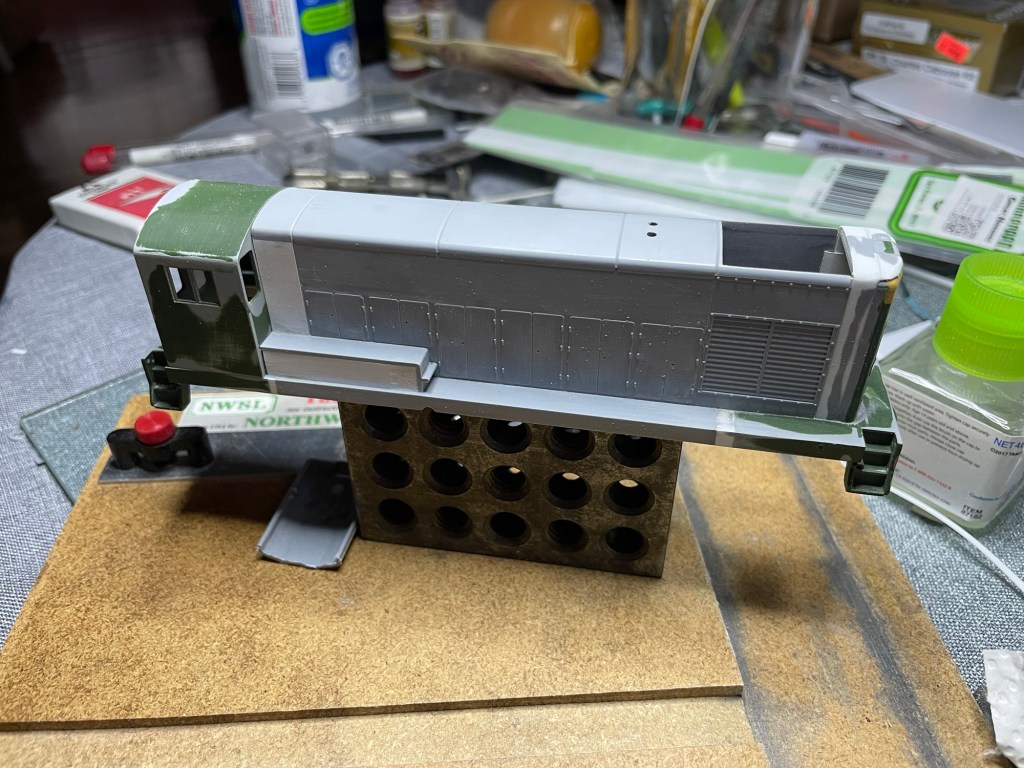
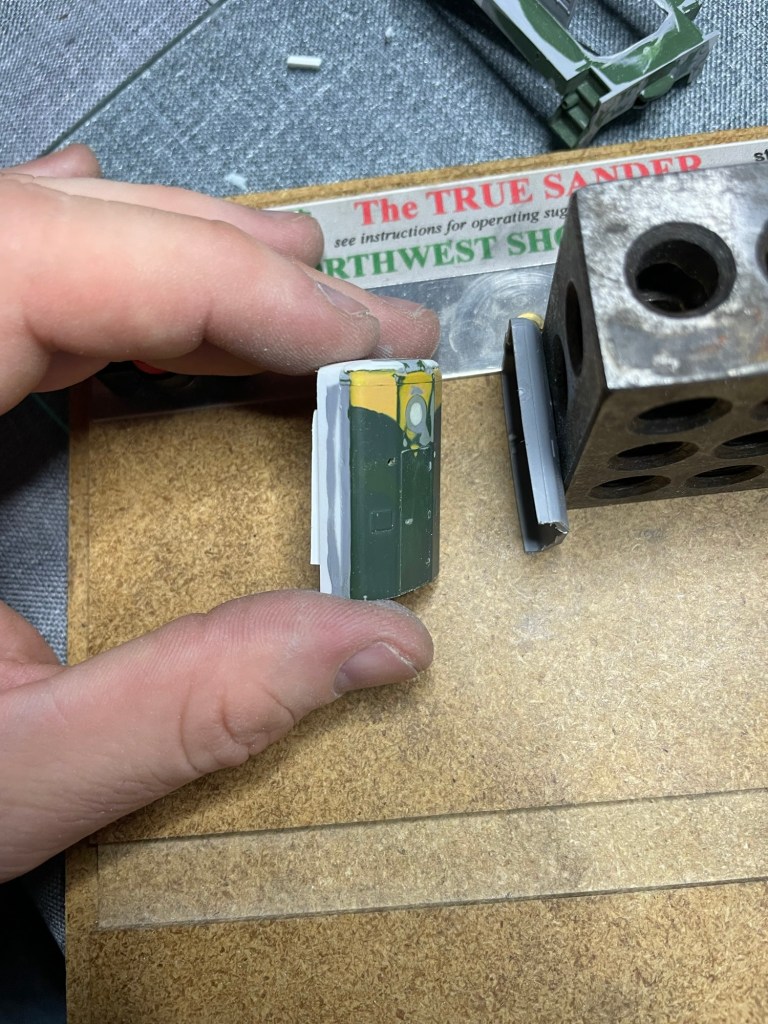
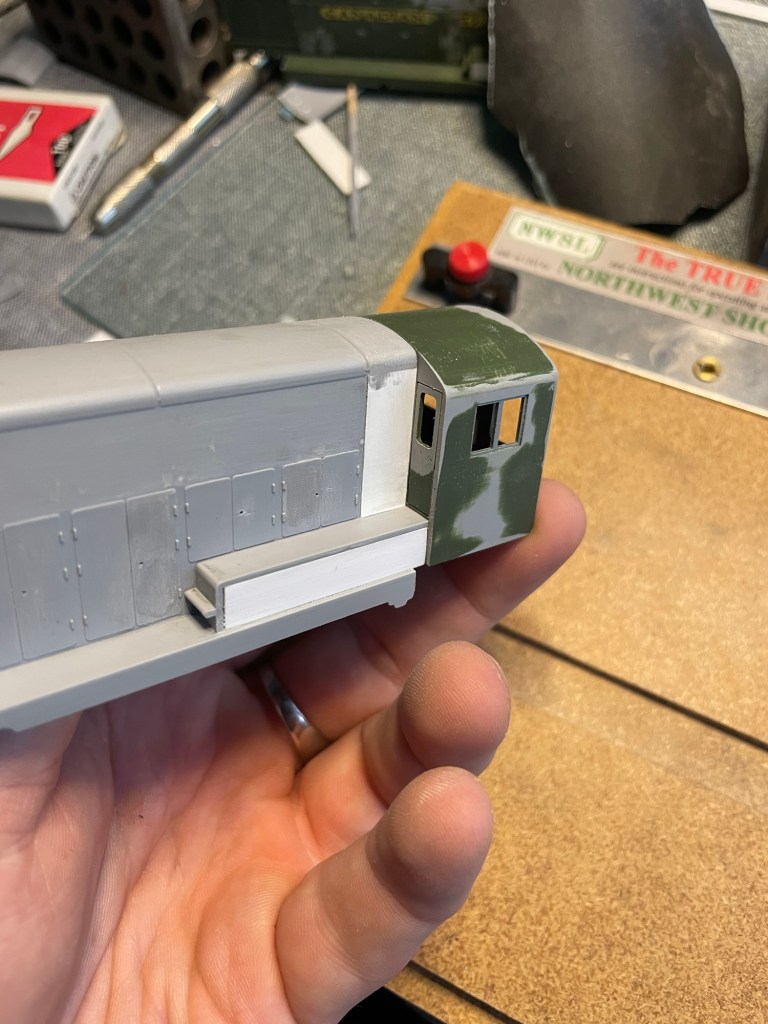

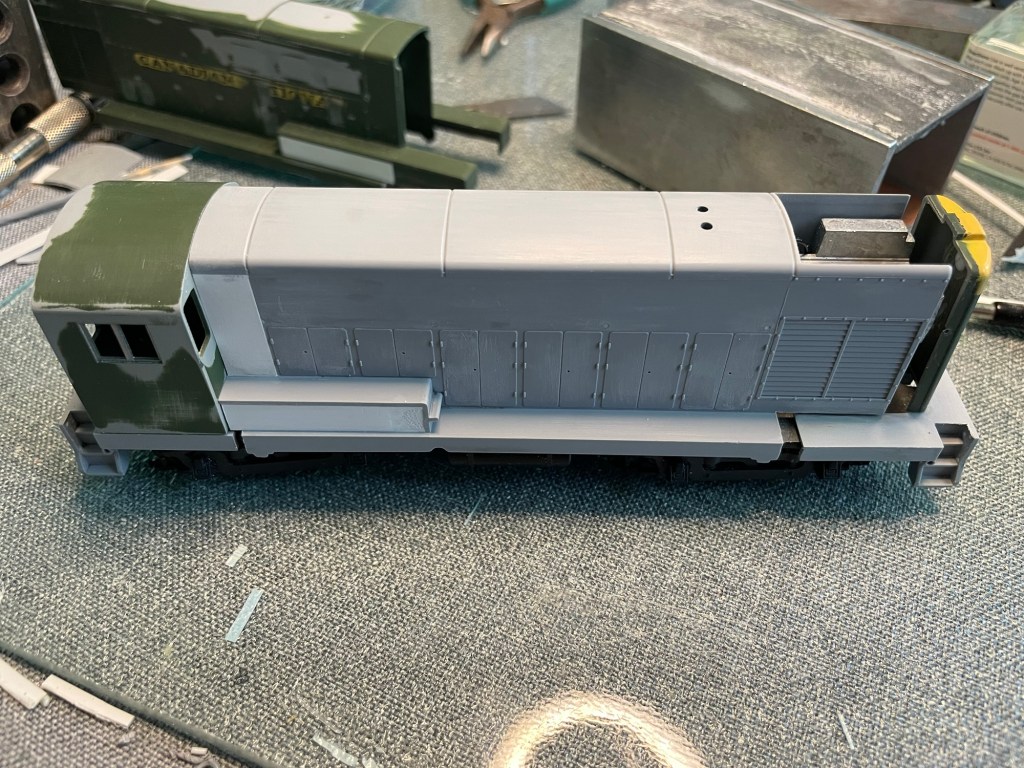
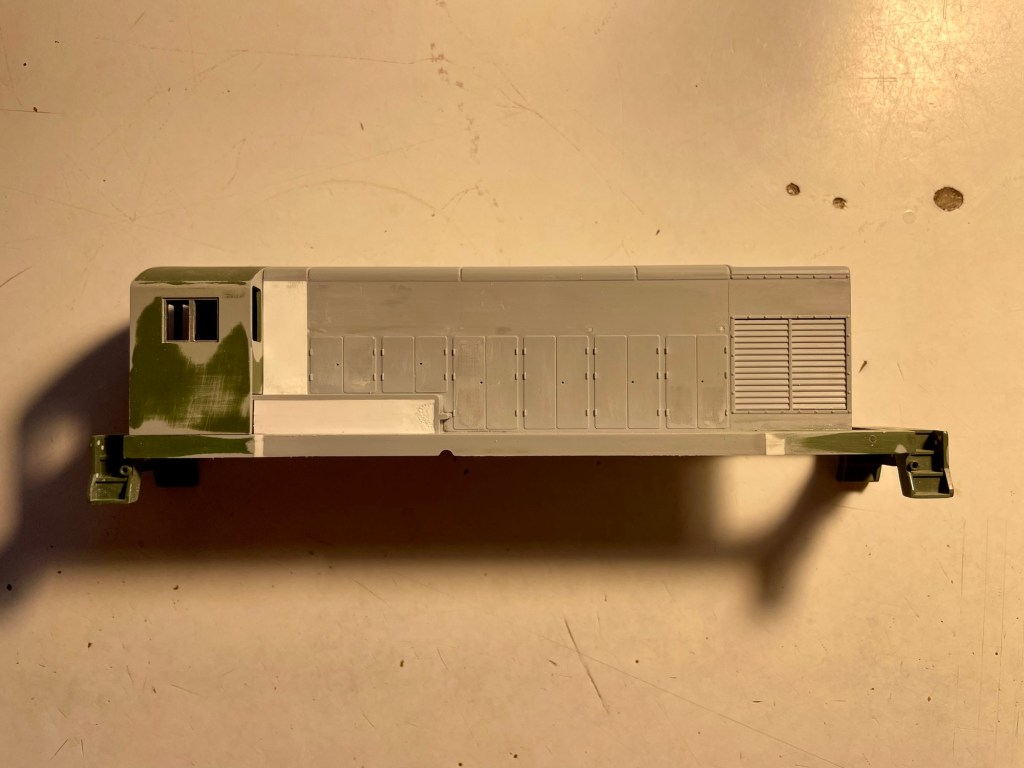
While there is undoubtedly a lot of work left to be done, I do feel the model was shelved at a good juncture to pick it back up again. All of the major body surgery is done, the incorrect details are gone, and from here it becomes a more straightforward exercise in detailing the locomotive. The remaining major exception to that will be the side railings, which appear to have been added sometime between the #1630–#1639 units being built and their arrival on PEI, presumably for safety reasons. Other big decisions will be regarding louvers (to scratch-build them, or use Archer louver decals, which will be to small) and to or not to scratch-build a new frame from brass. If you have any experience or suggestions in regard to scratch-building louvers, drop me a line!
All of that aside, when I pick this up again, hopefully soon, the next goal is to knock out the grab irons that are just forward of the radiator, and then the body-mounted handrails. The rest will sort itself out.
Thanks for reading. That’s two in one month if you’re counting!
CM/YYG
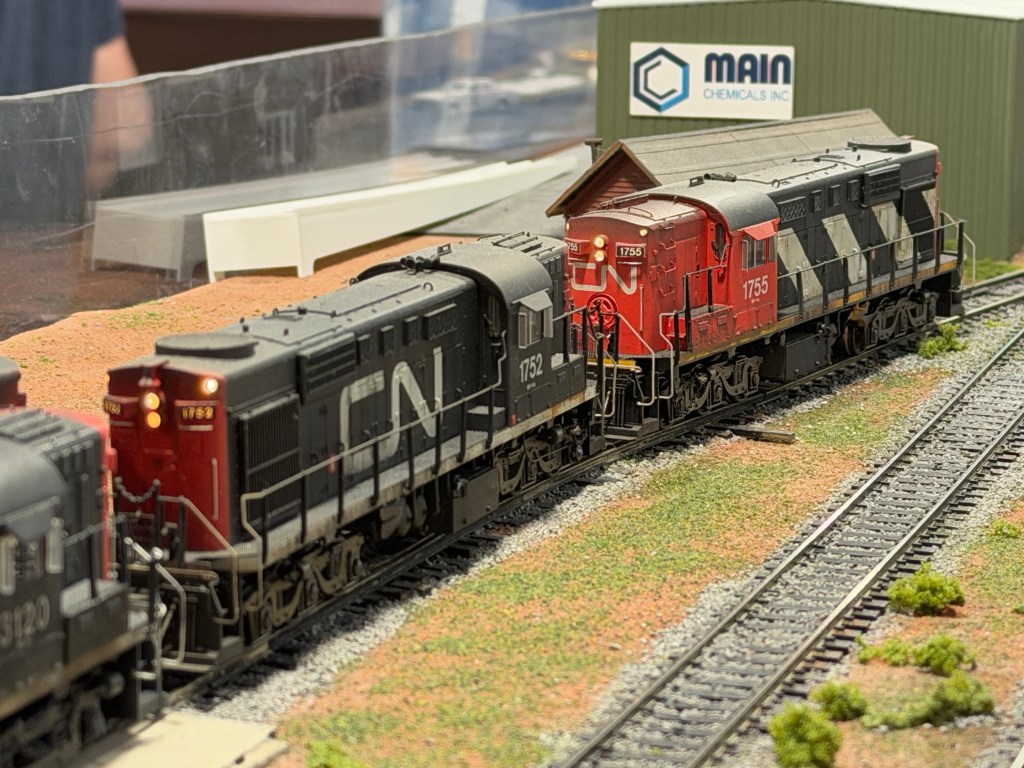
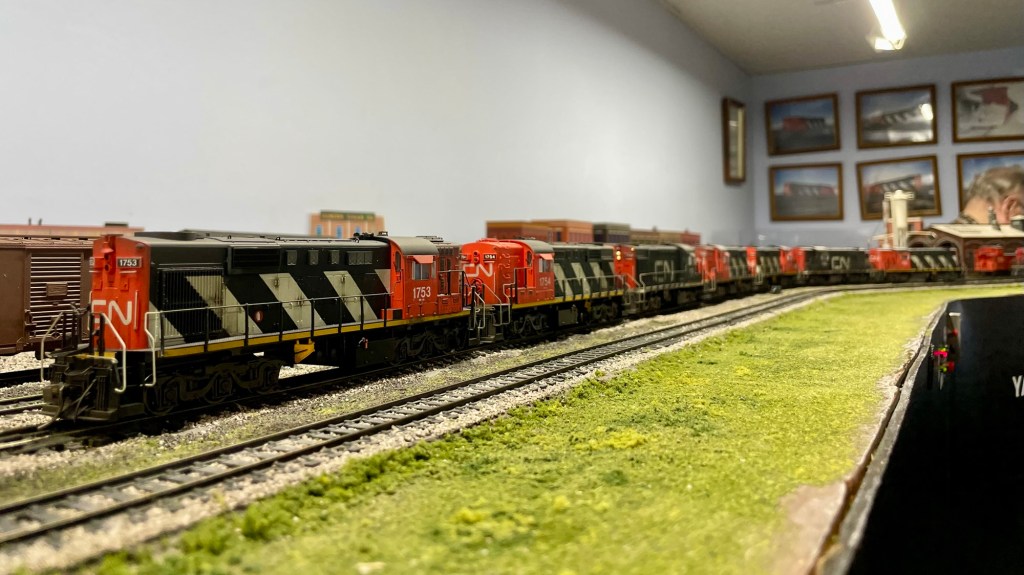
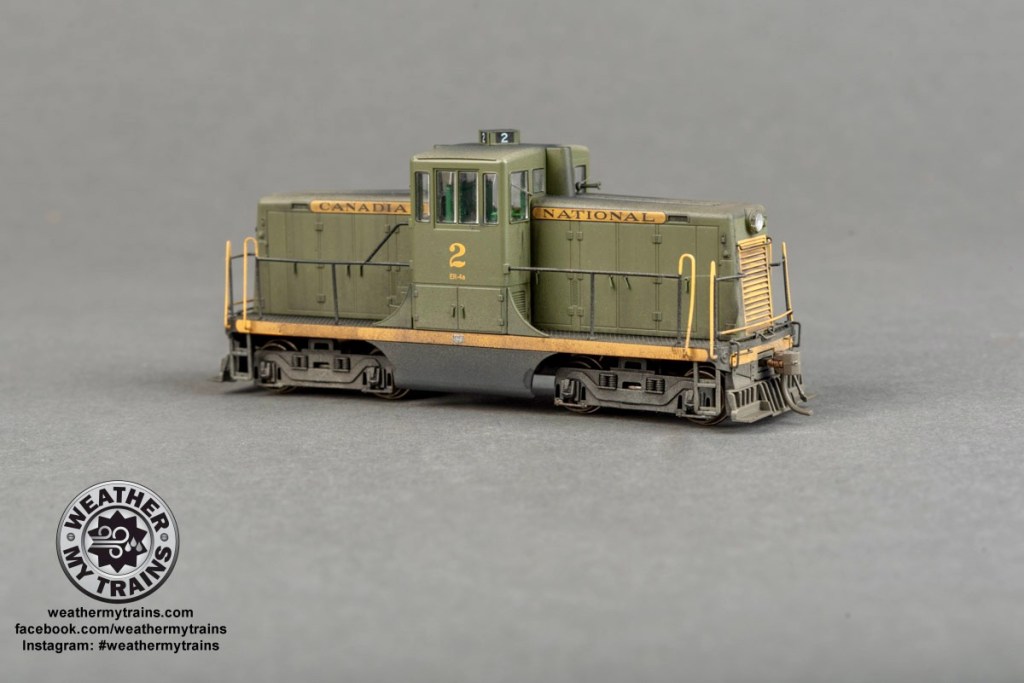
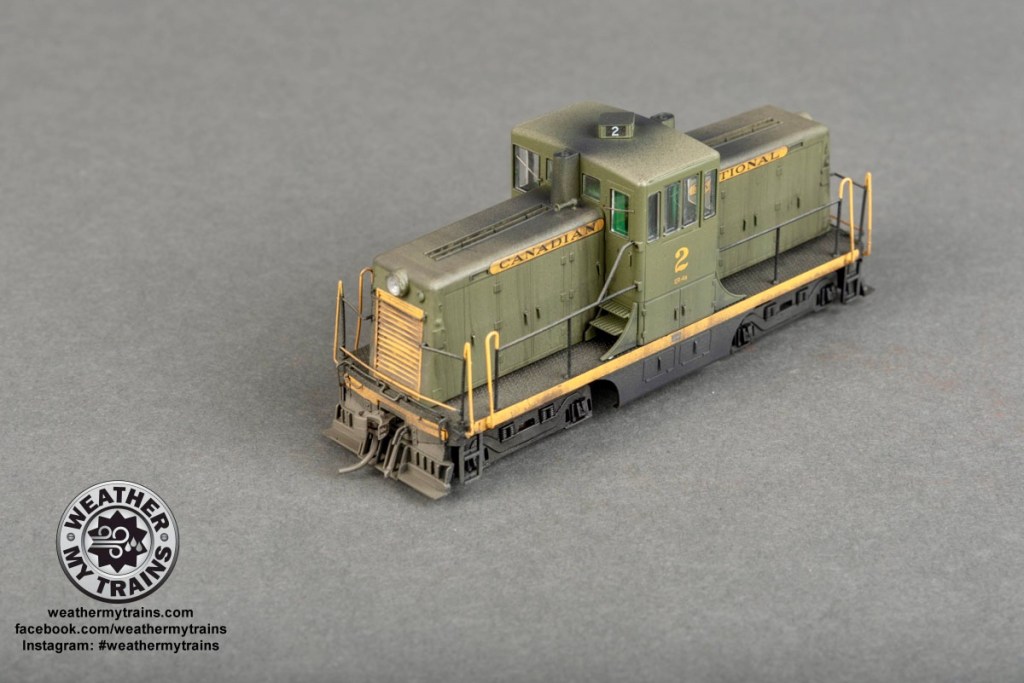
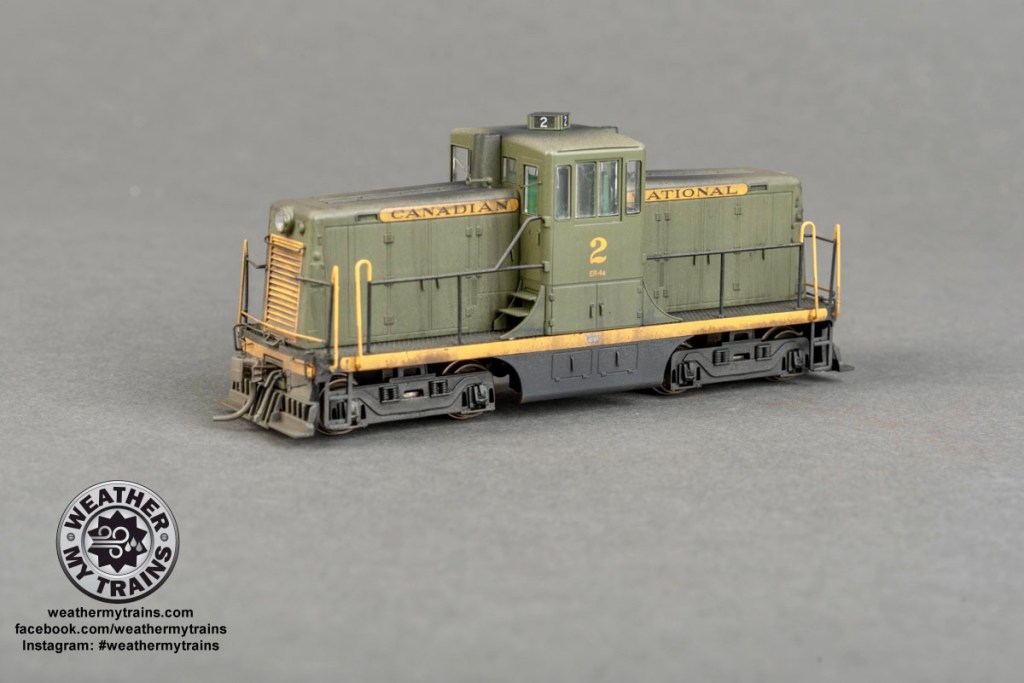


 CN P.E.I. TERRITORY IN 1:87